Creating an IAM User in the Azure Portal: A Step-by-Step Guide 🚀
In today's digital landscape, managing access to cloud resources is crucial. Let's explore the process of creating an IAM (Identity and Access Management) user in the Azure Portal, empowering you to efficiently control user permissions and access levels within your Azure resources.
Follow the following steps to create a new user in Azure:
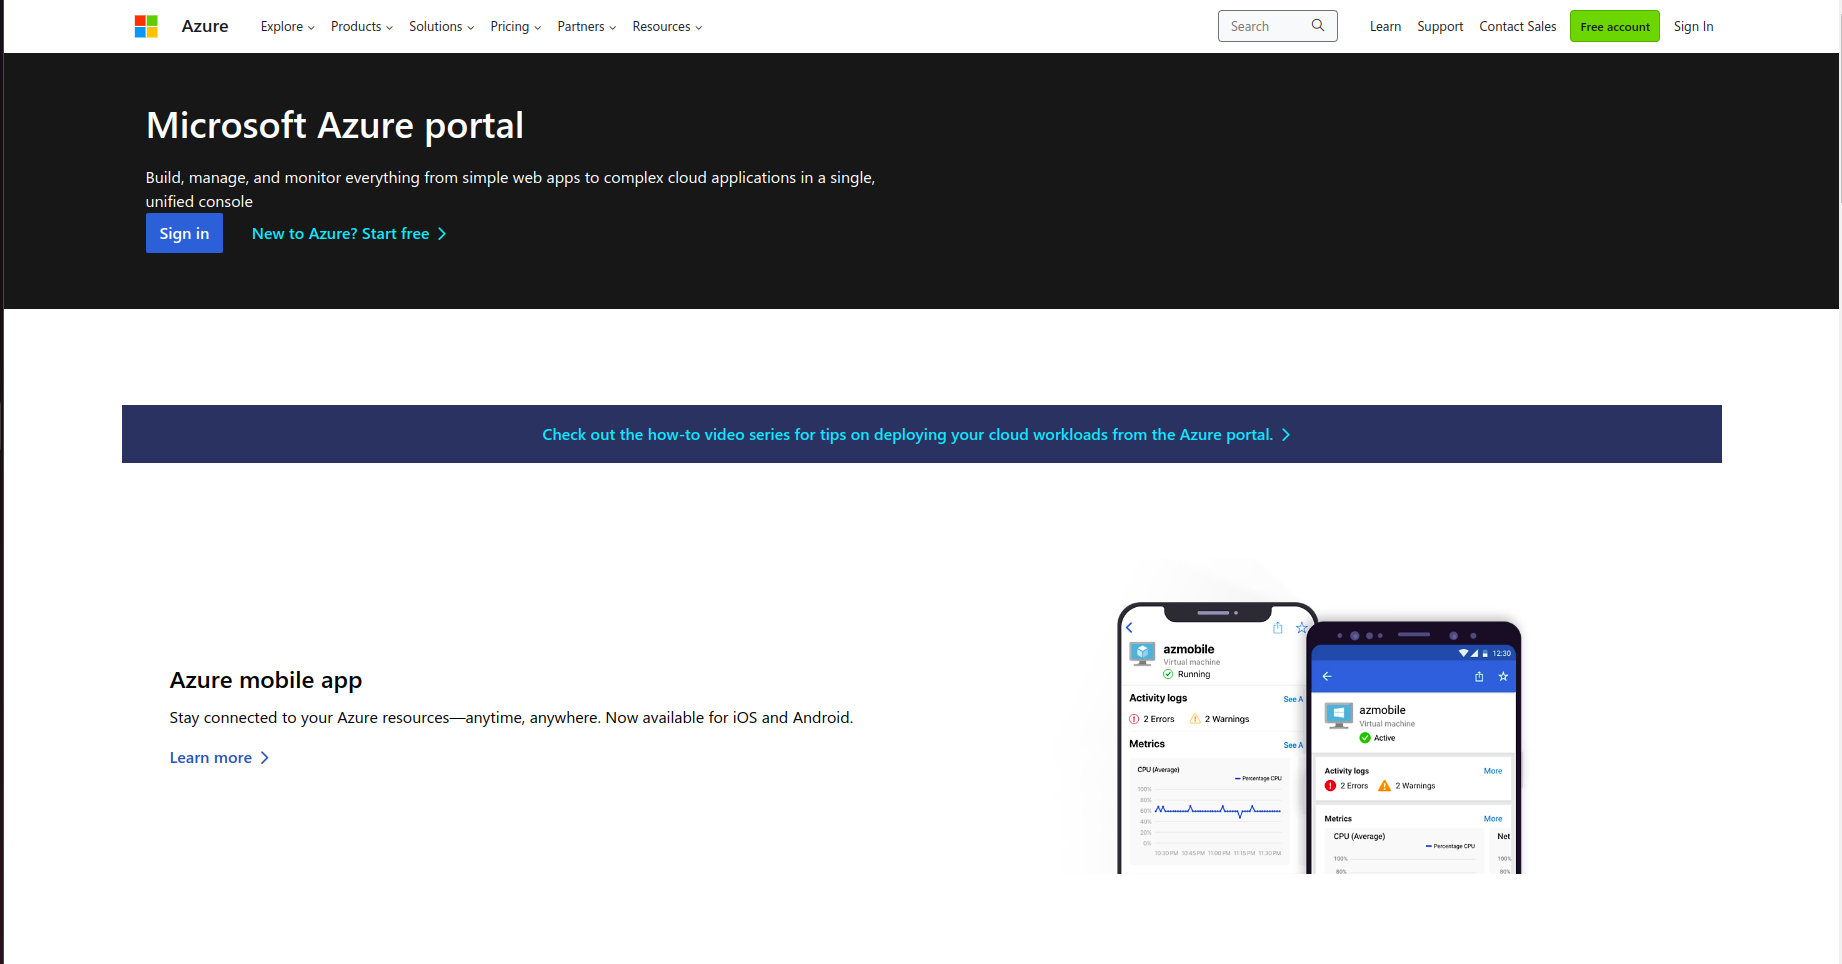
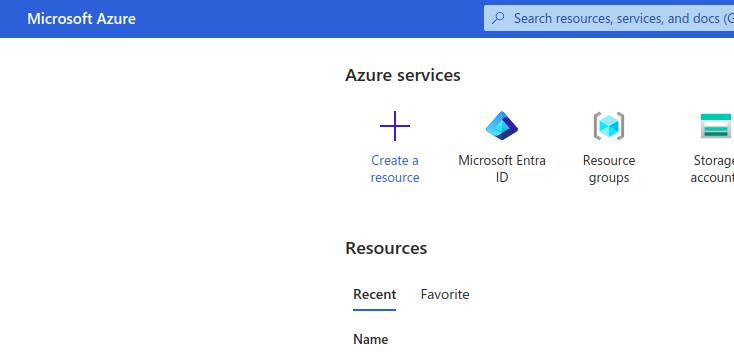
Step 1: Navigate to the Azure Portal 🌐
Start by signing in to your Azure account on the Azure portal. This centralized platform serves as your gateway to managing various cloud resources.
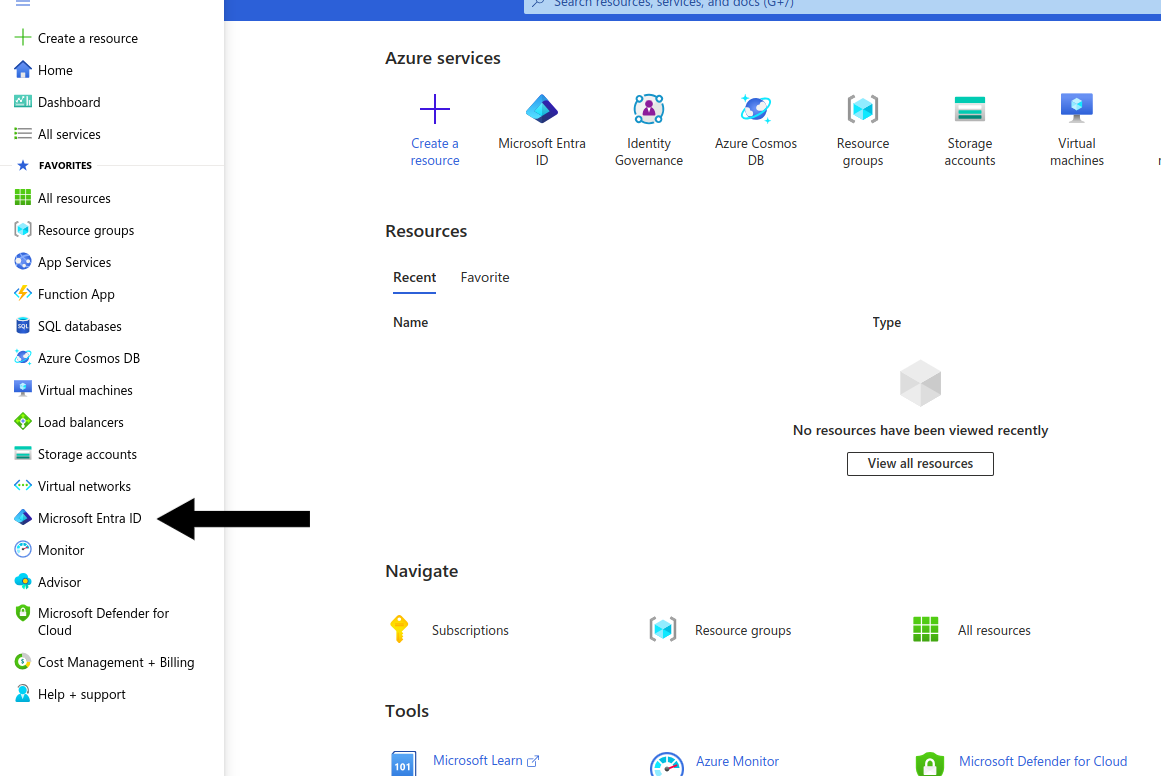
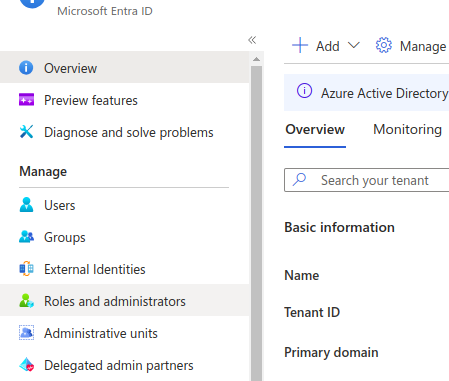
Step 2: Access the Microsoft Entra ID 🛡️
Click on the hamburger menu in the top left corner and select "Microsoft Entra ID (New Name for Azure Active Directory)" to access the IAM blade. If you can't find it, use the search bar and look for "Microsoft Entra ID."
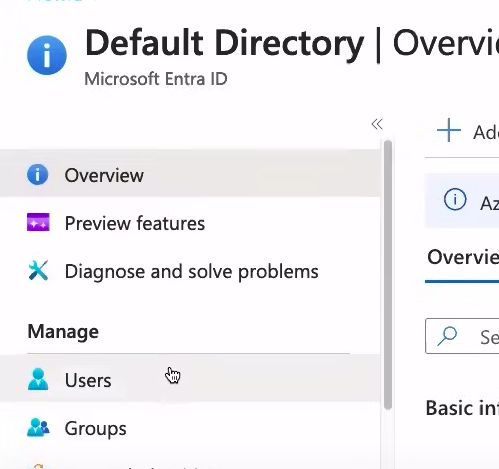
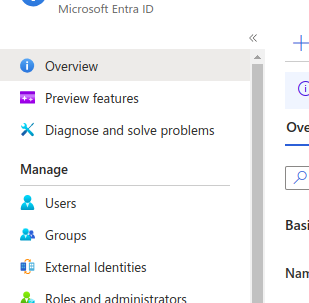
Step 3: Choose "Users" from the Left-Hand Menu 🧑💻
In the Microsoft Entra ID service, select the "Users" option from the left-hand menu. This is where you'll initiate the creation of a new IAM user.
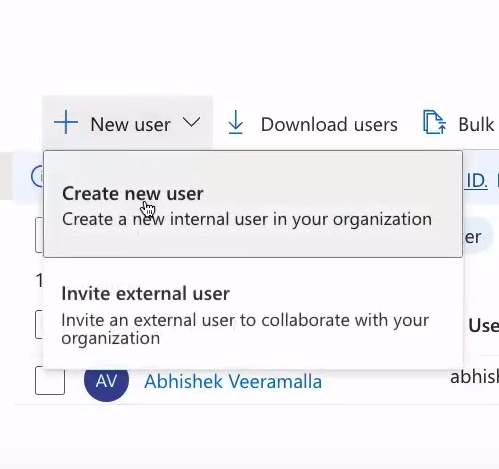
Step 4: Click "New User" Button 🆕
On the "Users" page, click the "New user" button to kickstart the user creation process. This action will open up a new pane for entering user information.
Step 5: Provide User Information 📝
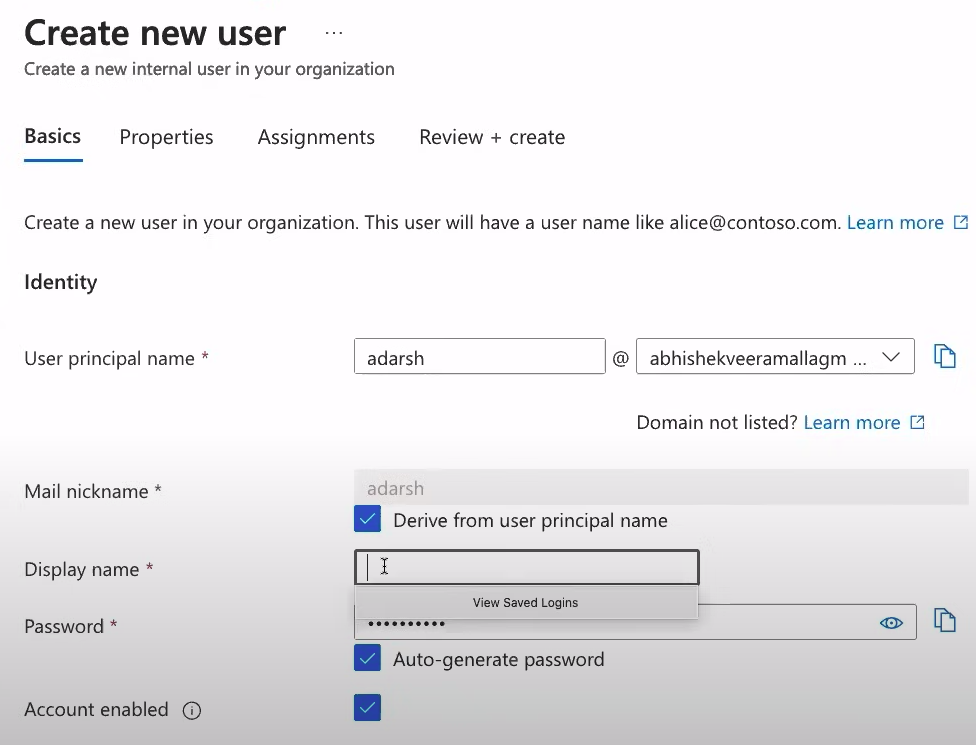
In the "New user" pane, enter essential user details, such as their first and last name, email address, and user principal name (UPN). This information is vital for uniquely identifying and managing the user within the Azure environment.
💡 When creating a user in Microsoft Entra ID, you'll be prompted to enter a UPN for the user. Here's a breakdown:
- User Principal Name (UPN): The UPN takes the form of an email address and is typically in the format [email protected]. It serves as the user's username and can be used for logging in.
5.1: Provide the user details, such as name and UPN. Also, save the password if using auto-generated. 🤖
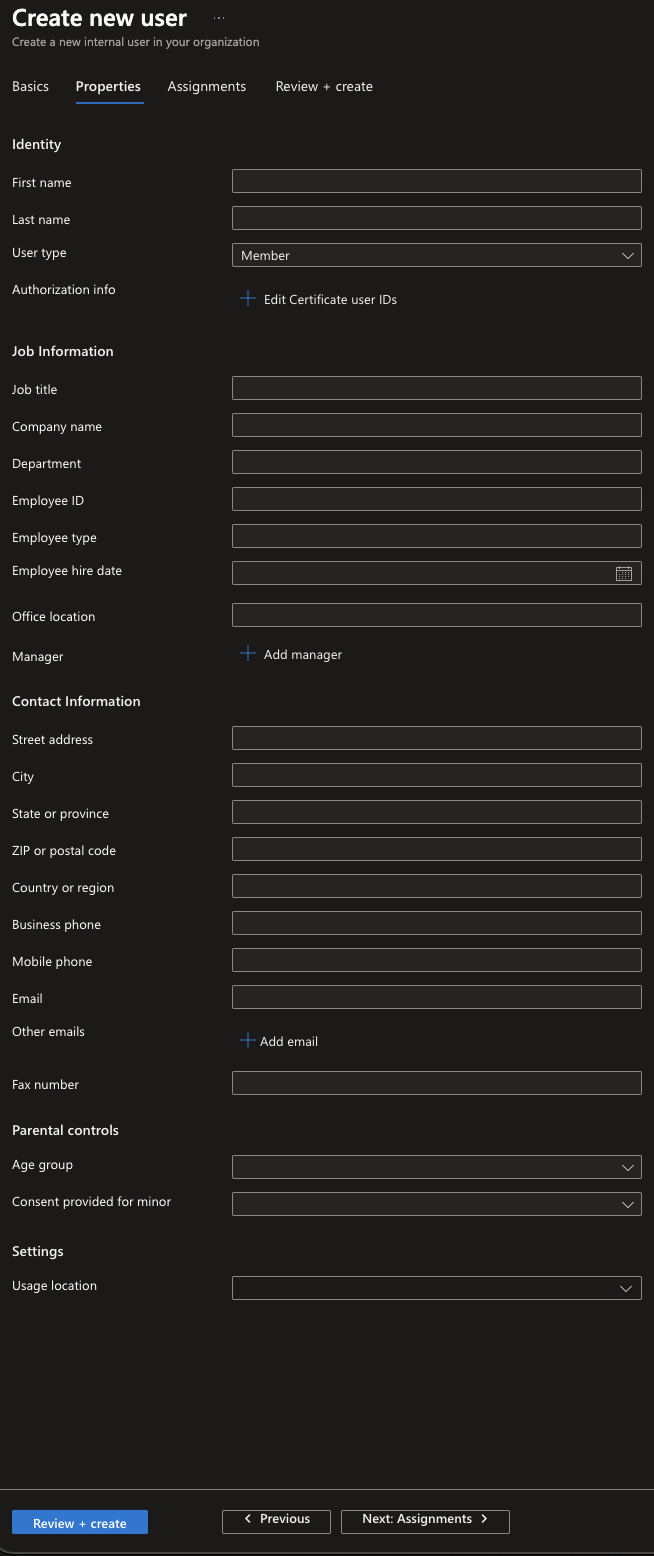
5.2: Provide all the necessary Properties. 💻
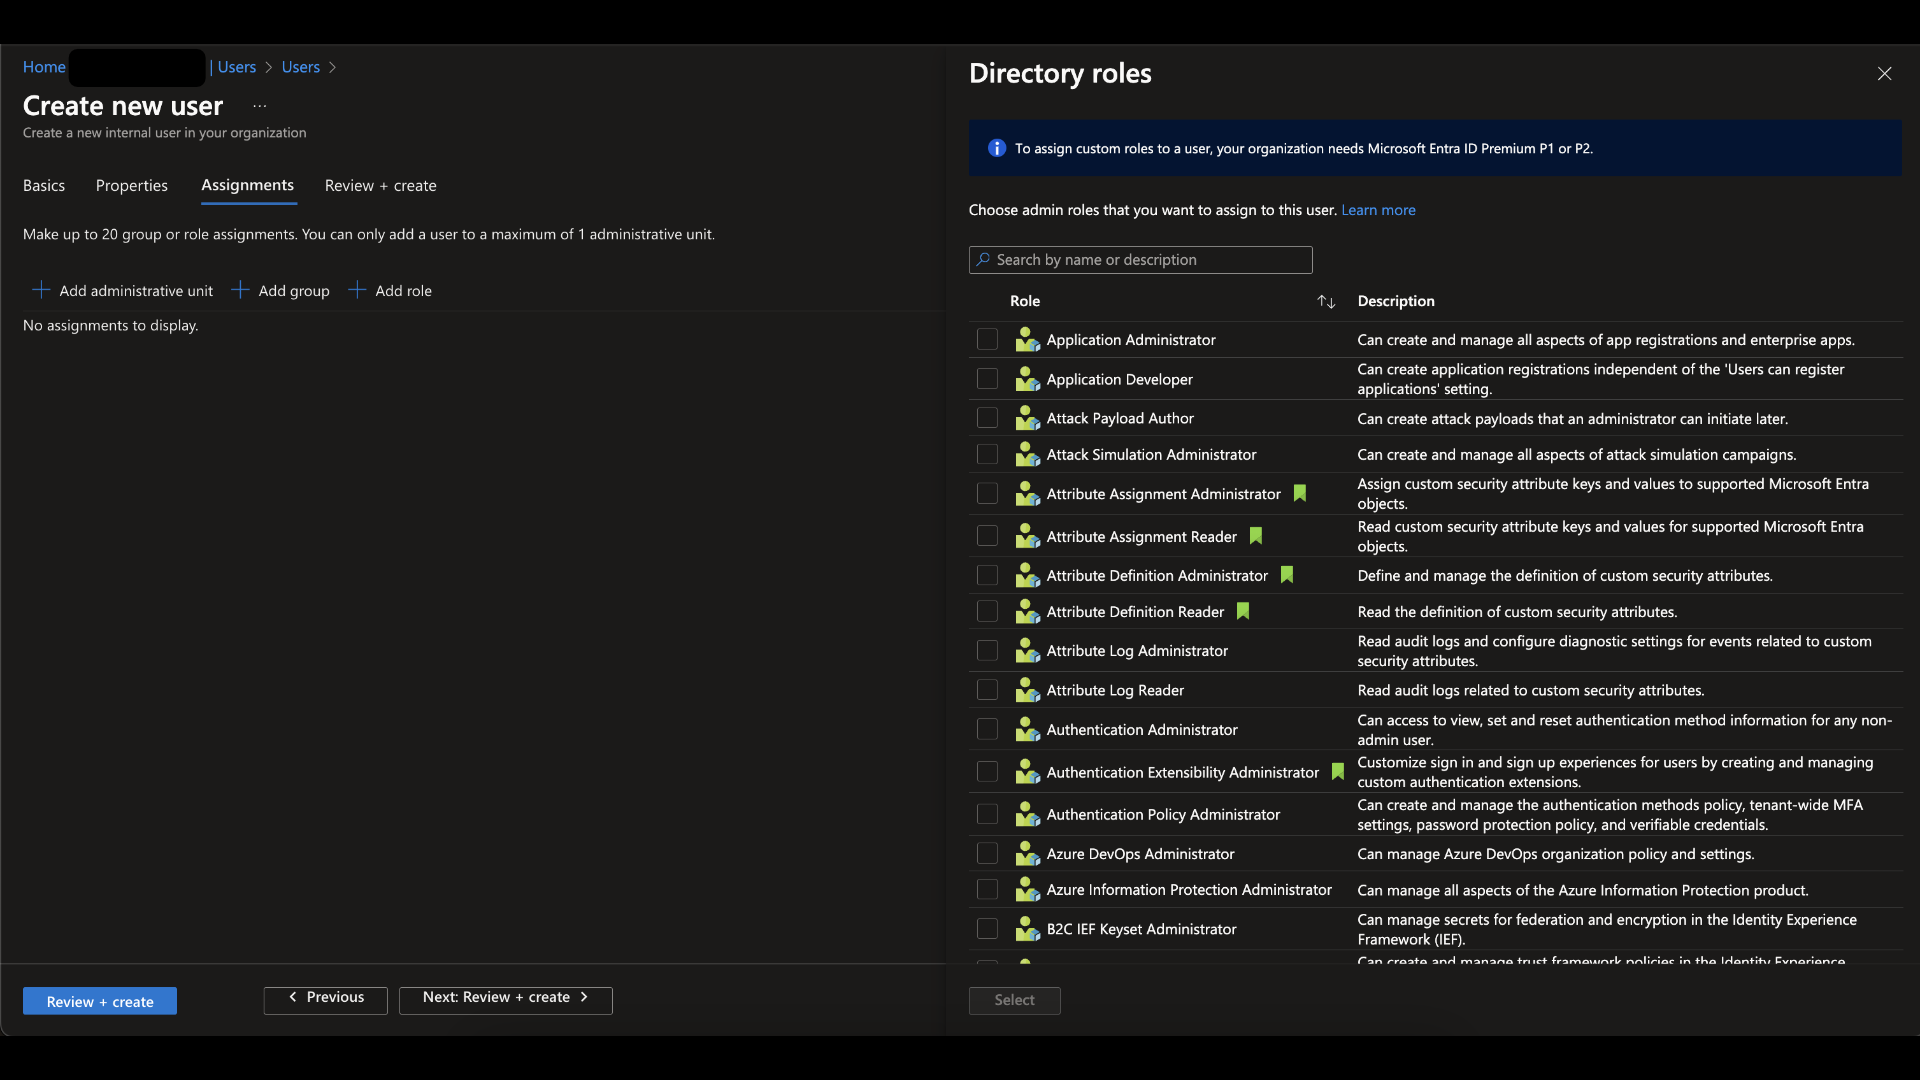
5.3: You can add a role, a group, or an administrative unit as needed. ⚡️
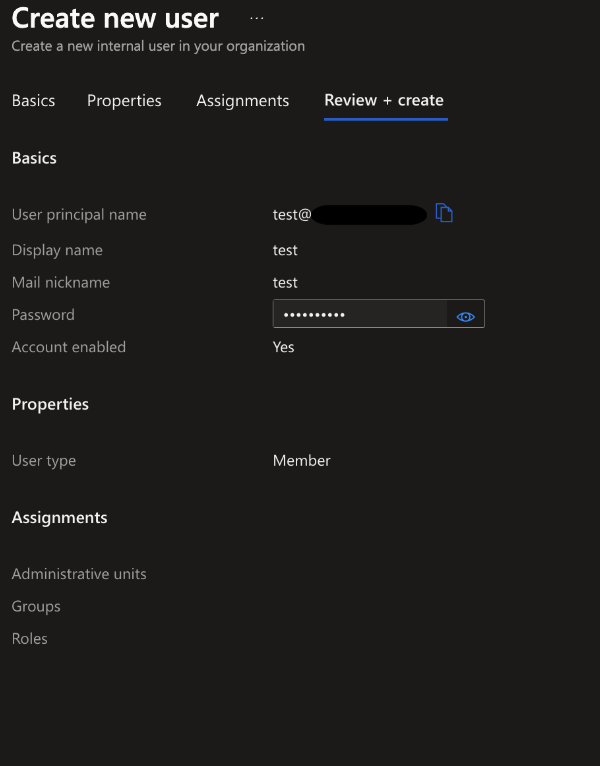
5.4: Review and Create the User. ✨
Assign a Role to an Existing User 🧐
Assigning roles is a pivotal step in user management. Follow these steps to assign the "Global Administrator" role to the user named "Alex" in Microsoft Entra ID (formerly Azure Active Directory).
STEP 1. Login to the Portal:
1.1 Access Microsoft Entra ID through the Azure portal.
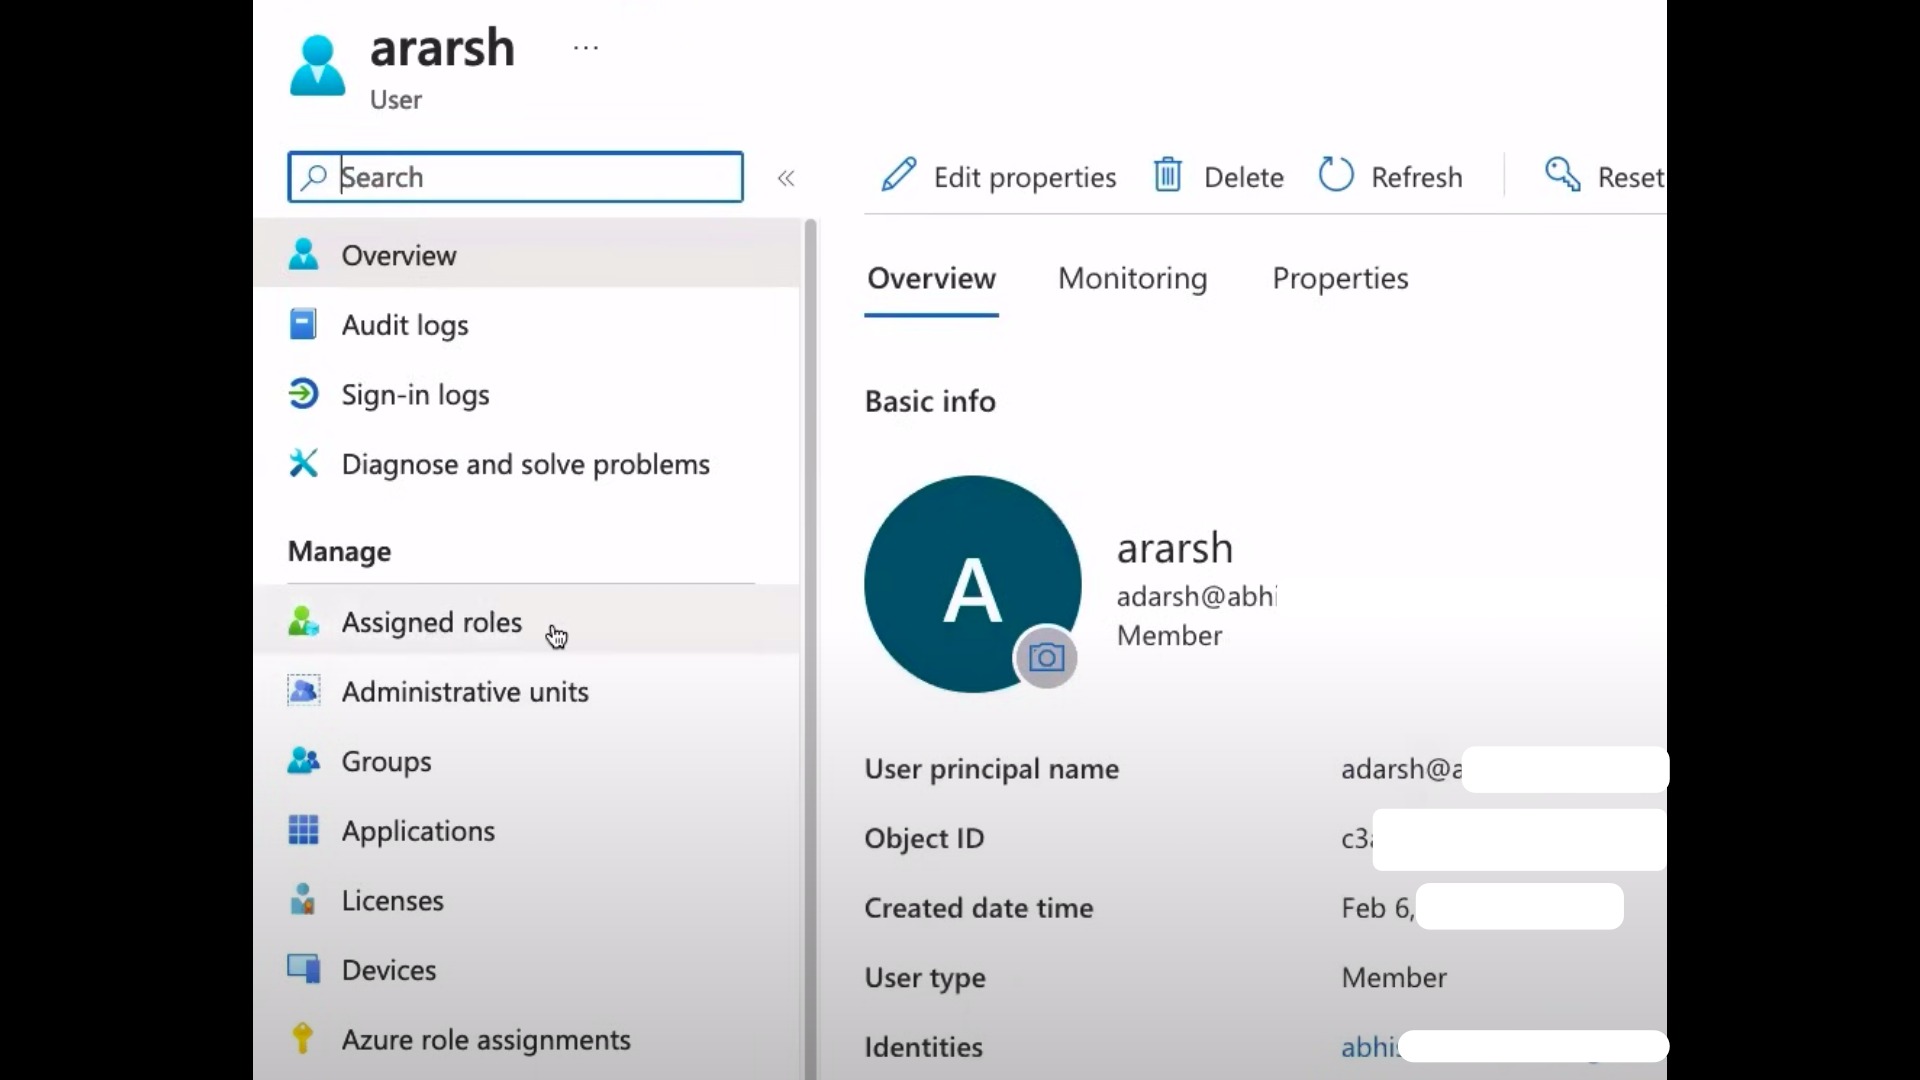
STEP 2. Select User:
2.1 Navigate to the Users section in Microsoft Entra ID and select the user for which you want to manage the role.
STEP 3. Assign Roles to Existing User:
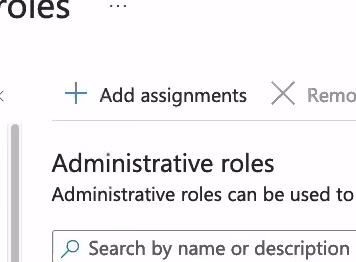
3.1 For an existing user, go to "Assigned roles."
3.2 Choose "Add assignments," select the "Global Administrator" role, click "Add."
3.3 Refresh the page for updates.
STEP 4. Shortcut to Roles Page:
4.1 Directly go to Roles and Administrators in Microsoft Entra ID.
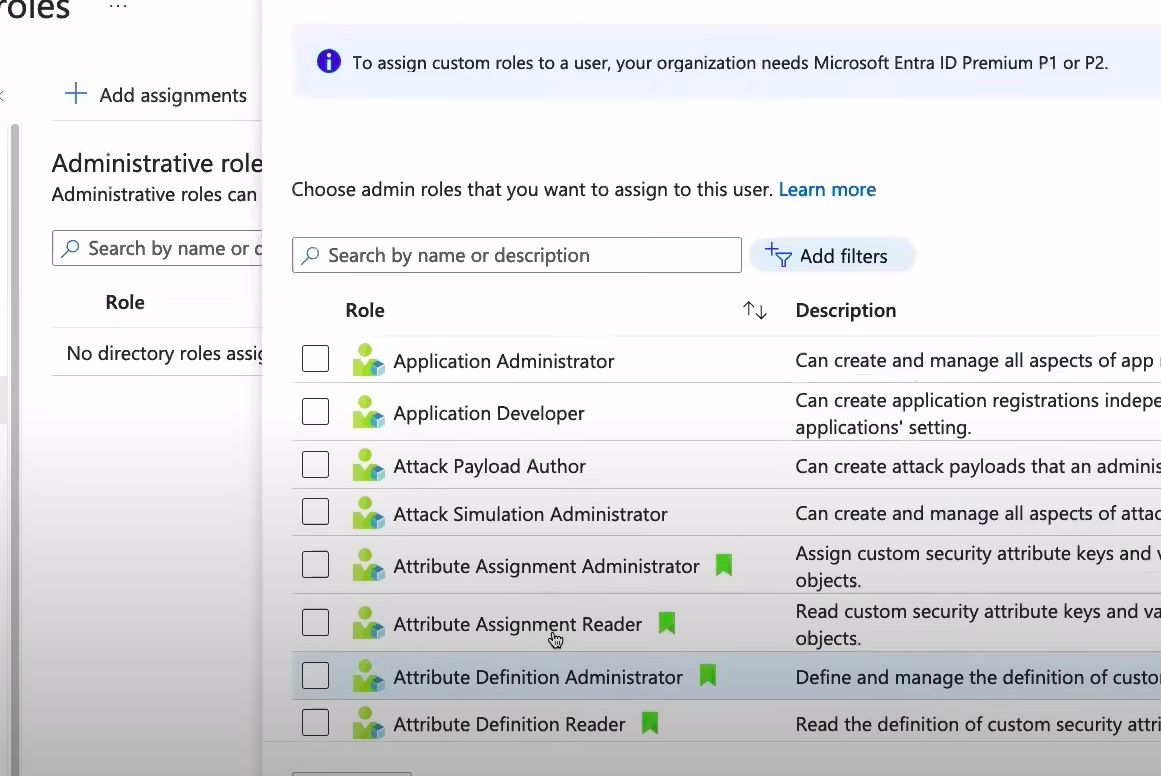
4.2 Select the desired role, choose "Add assignments."
4.3 Add users or groups, click "Add," and you're done!
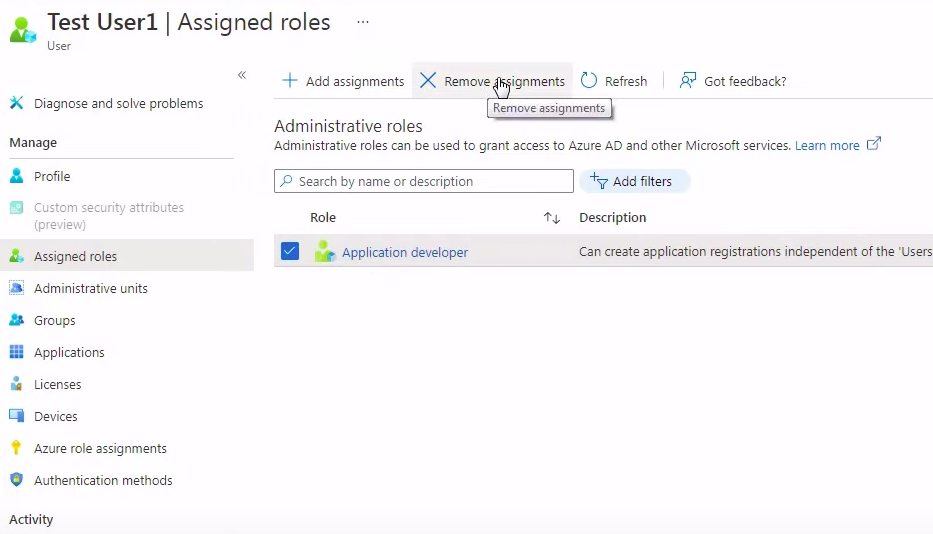
STEP 5. Remove Assigned Roles:
5.1 To remove roles, select the role in "Assigned roles."
5.2 Choose "Remove assignment" for the selected role.
Delete User (Optional) 🗑️
In case you need to remove a user, follow these simple steps:
-
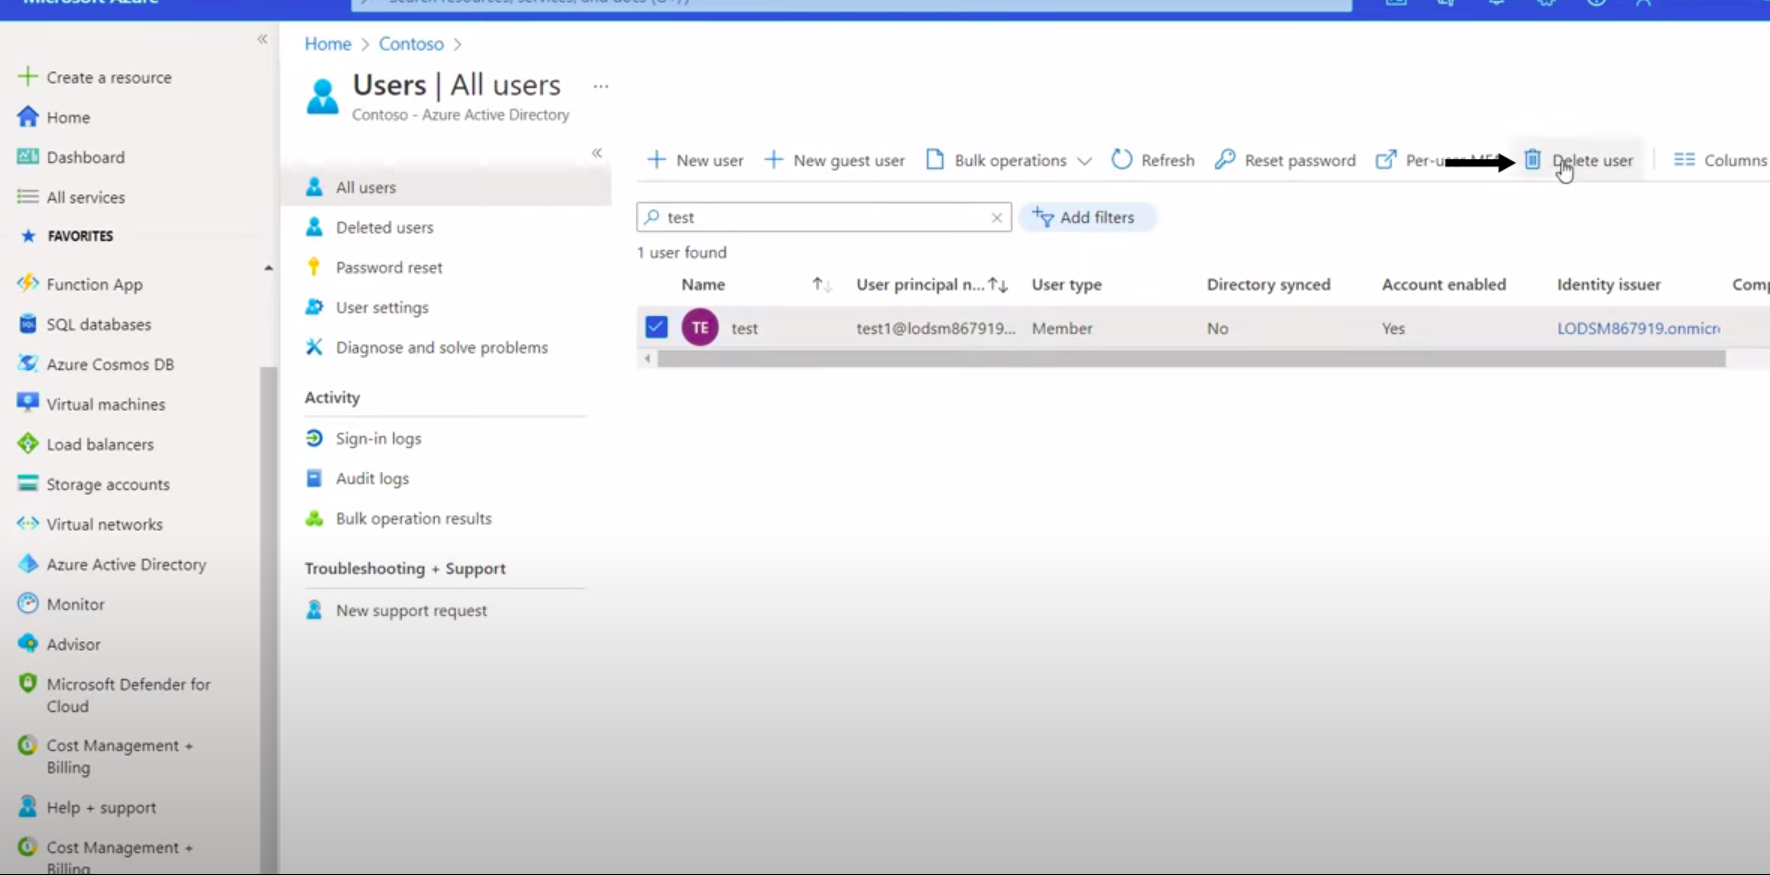
Select the User:
- Navigate to the "Users" section in Azure Active Directory.
- Select the user you want to delete from the list.
-
Initiate Deletion:
- Click on the "Delete user" option.
- Confirm the deletion when prompted.
-
Confirm Deletion:
- Review the confirmation message.
- If you're certain about deleting the user, proceed with the deletion.
Creating an IAM User with Azure PowerShell: A Quick Guide
STEP 1. Install Azure PowerShell:
1.1 Install Azure PowerShell on your system.
1.2 This tool empowers you to manage Azure resources effortlessly using PowerShell commands.
STEP 2. Connect to Azure PowerShell:
2.1 Launch PowerShell and connect to your Azure account.
2.2 Use the Connect-AzAccount command for a seamless connection.
STEP 3. Create a New User:
3.1 Utilize the New-AzADUser command.
3.2 Specify user details like name, email address, and other relevant parameters.
STEP 4. Assign Role or Roles:
4.1 Leverage the New-AzRoleAssignment command.
4.2 Assign the desired role(s) to the newly created IAM user.
STEP 5. Verify User Creation:
5.1 Validate the user creation using Get-AzADUser.
5.2 This command displays a list of all IAM users in your Azure subscription.
By following these steps, you'll seamlessly create and configure IAM users in Azure using PowerShell. 🌐⚙️