Azure CLI Overview: Setup, Comparison, and Integration Tips 🌐🔧
Contents
- What is Azure CLI?
- How to Install Azure CLI
- Azure CLI vs. Azure PowerShell
- Managing Resources with Azure CLI
- Azure CLI FAQs
What is Azure CLI?
Azure CLI is a command-line tool for creating and managing resources. Interact with Azure through commands in a terminal or automate tasks with scripts. It interfaces with Azure Resource Manager (ARM), the management layer for Azure resources.
Azure CLI Features:
- Cross-Platform: Install on Linux, Mac, or Windows.
- Multiple Shell Environments: Works in Windows Command prompt, Bash, and PowerShell.
- Bash-like Syntax: Familiar for Linux administrators.
- Automation: Script Azure management tasks easily.
- Open-Source: Hosted on GitHub, allowing community contributions.
Setting Up Azure CLI
Installation Overview
1. Windows: MSI installer or PowerShell commands for installation.
To install the Azure CLI using PowerShell, start PowerShell as administrator and run the following command:
$ProgressPreference = 'SilentlyContinue';
Invoke-WebRequest -Uri https://aka.ms/installazurecliwindows -OutFile .\AzureCLI.msi;
Start-Process msiexec.exe -Wait -ArgumentList '/I AzureCLI.msi /quiet';
Remove-Item .\AzureCLI.msi
You can also refer to the official documentation for Windows installation.
2. Linux: Use the preferred package manager (apt, dnf, zypper), or manually install with required software (Python, libffi, OpenSSL).
Install Linux in one command apt(Ubuntu/Debian):
curl -sL https://aka.ms/InstallAzureCLIDeb | sudo bash
You can also refer to the official documentation for Linux installation.
3. Mac: Install via Homebrew package manager.
You can install the Azure CLI on macOS by updating your brew repository information, and then running the install command:
brew update && brew install azure-cli
You can also refer to the official documentation for Mac installation.
Configuring Azure CLI
-
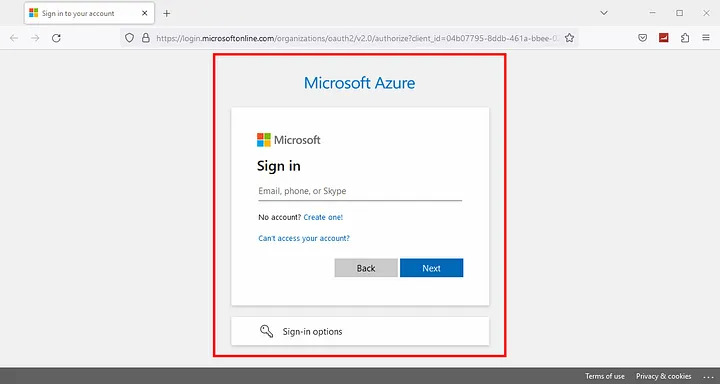
Signing in to Azure:
Use az login for interactive log-in or add --use-device-code for authorization code sign-in.

Click on your account
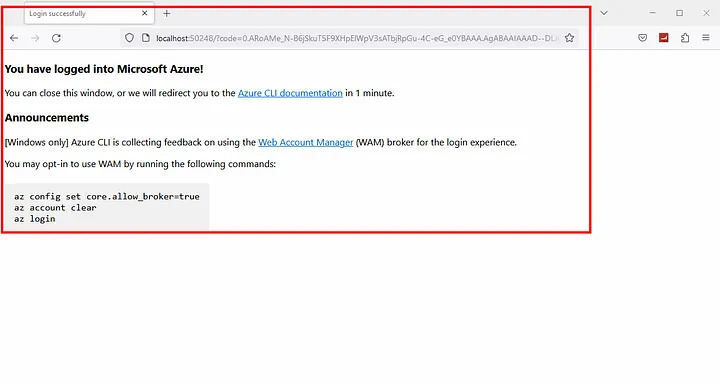
You will get a notification as shown below
-
Selecting an Azure Subscription:
View default subscription with az account show or list all subscriptions with az account list. You can also use az account list -o table to view the output in tabular format.
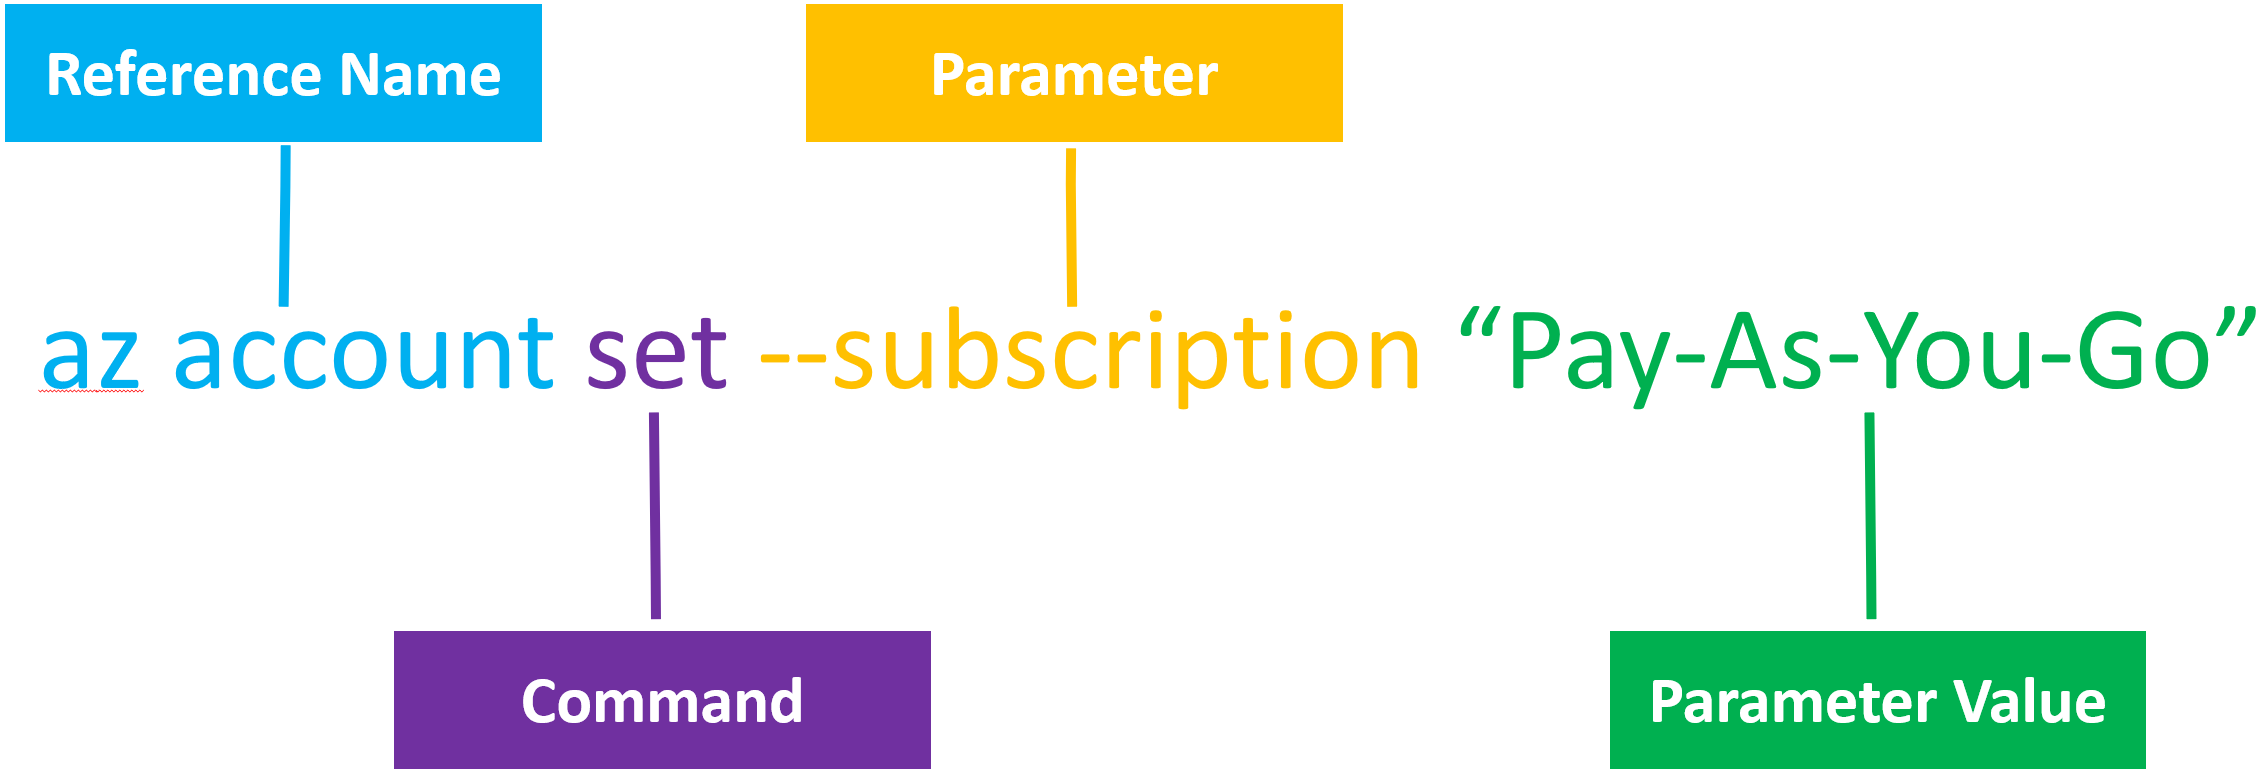
Select subscription using az account set --subscription <azure_subscription_id>.